Did you have fun with the last brow article? If you haven’t seen it, click here. Because you’d need to know those basic infos before you get deeper into creating the brow that makes your look wow!
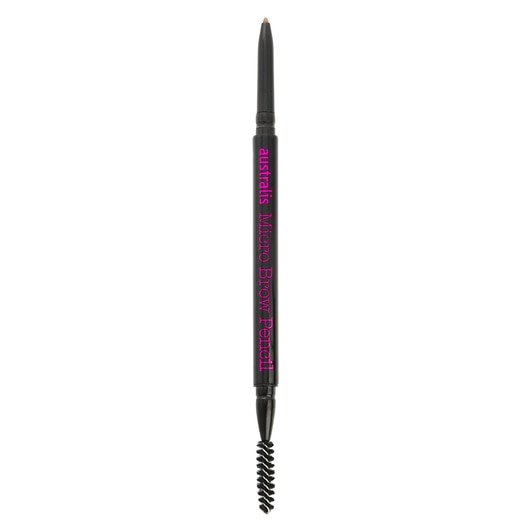
After you’ve already marked your length and angle, the next step on creating those fab brows is shading. To do this, you would either need a brow pen which already has its pointed lead that can be sharpened just by flicking them off and a build in spooley at the end of the pencil or you can use the three-toned product that has a light and a dark powder to contour the brows and pomade to groom the brow hairs. Keep your brow scissors and tweezers handy just in case you’ll need to groom further.
ctto
If you are using the brow pencil, you can do the following:
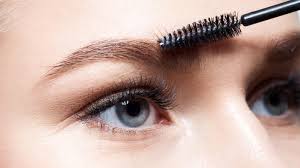
Step 1: Using the spooley, comb the inner brow (nearest the nose bridge) upwards and sideways away from the center of your face. Then comb the end part of your brows (pointy tail end) going down.
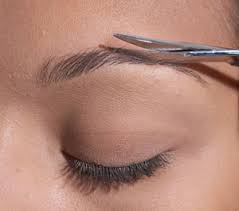
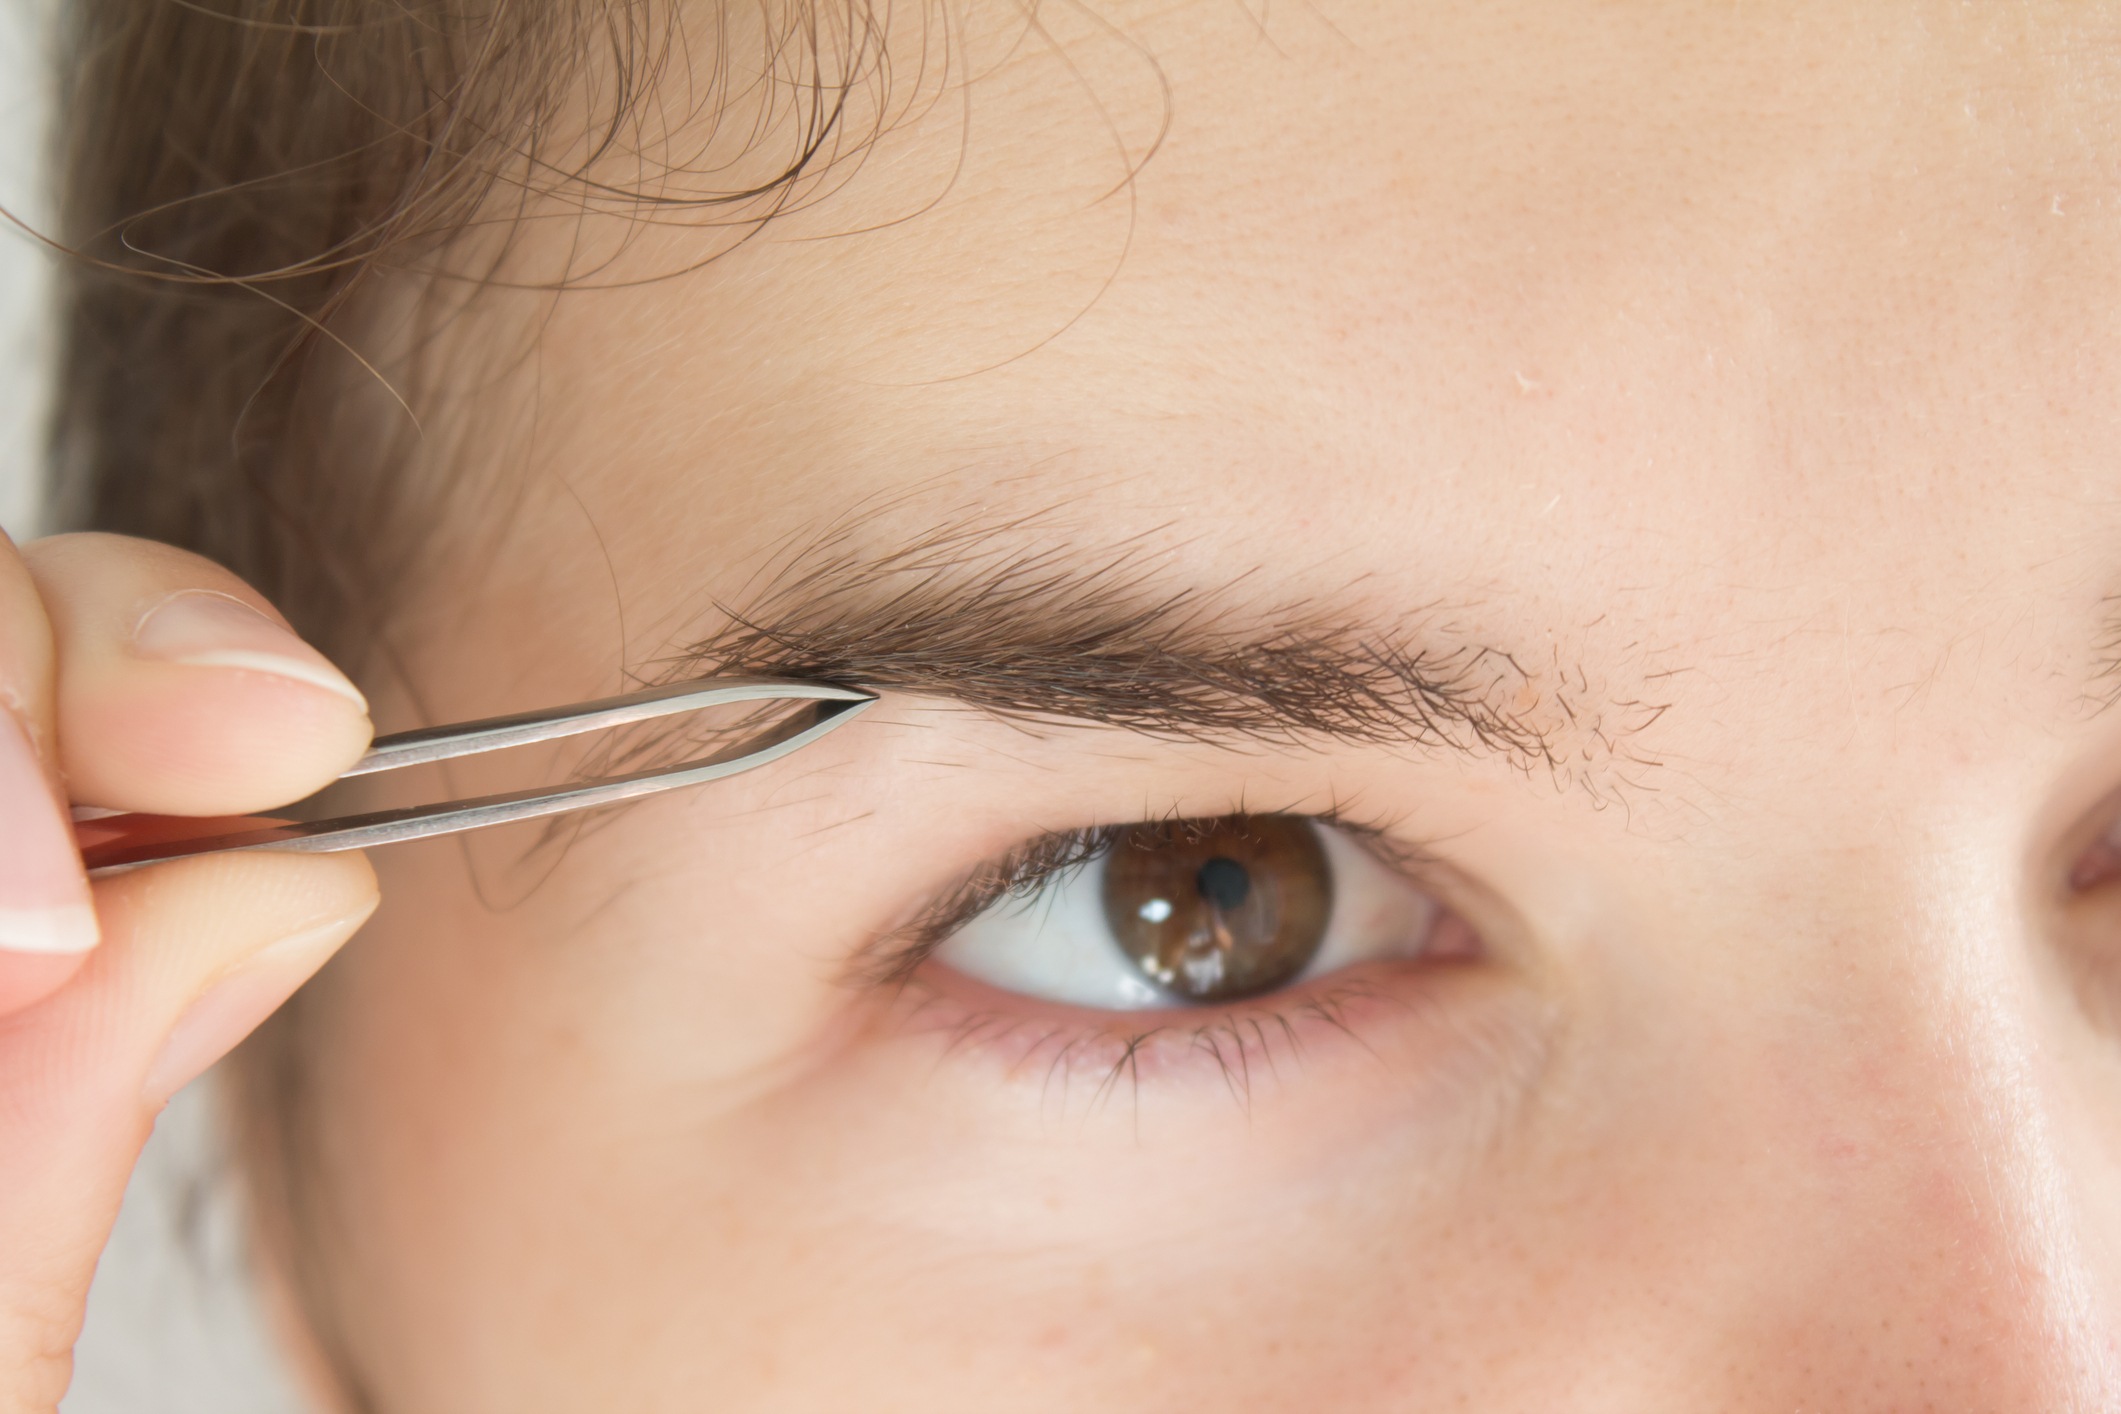
 Step 2. Groom your brows by cutting excess hair on the top and tweezing excess hair on the bottom.
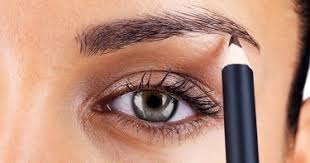
 Step 3: Using your brow pencil, begin to draw fine lines from the base of the brow replicating little strands of hair. Make sure that you fill in all visible gaps and that you shade the ends of your brow the darkest – this creates a gradient look after the next step.
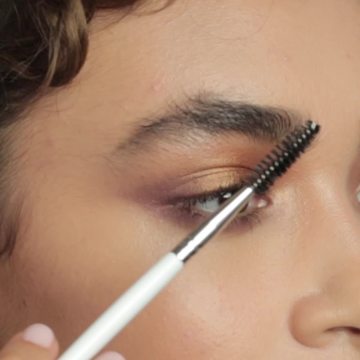
Step 4: Comb your eyebrow using the spooley from the inner to the outer corner. This creates a more natural look diminishing all the visible straight lines that you created in the beginning.
 Step 5: Comb in the brow pomade to keep the eyebrows in place for a cleaner look. This looks like a mascara with a thicker spooley to help groom stubborn brow hair.
Brow pencils come in many shades. Make sure that your brow colour matches your hair or you can go one step lighter.
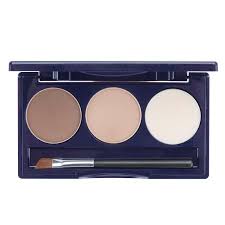
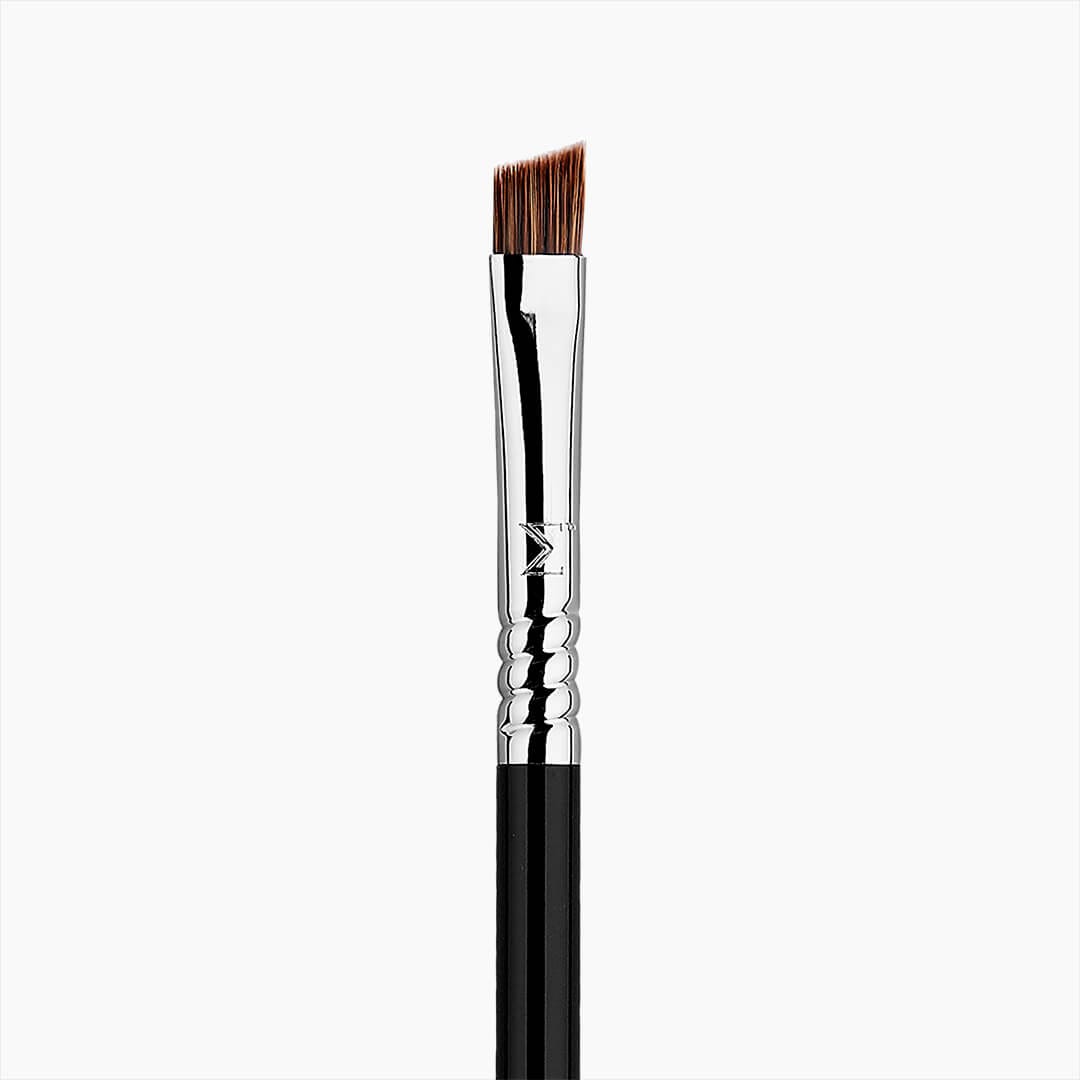
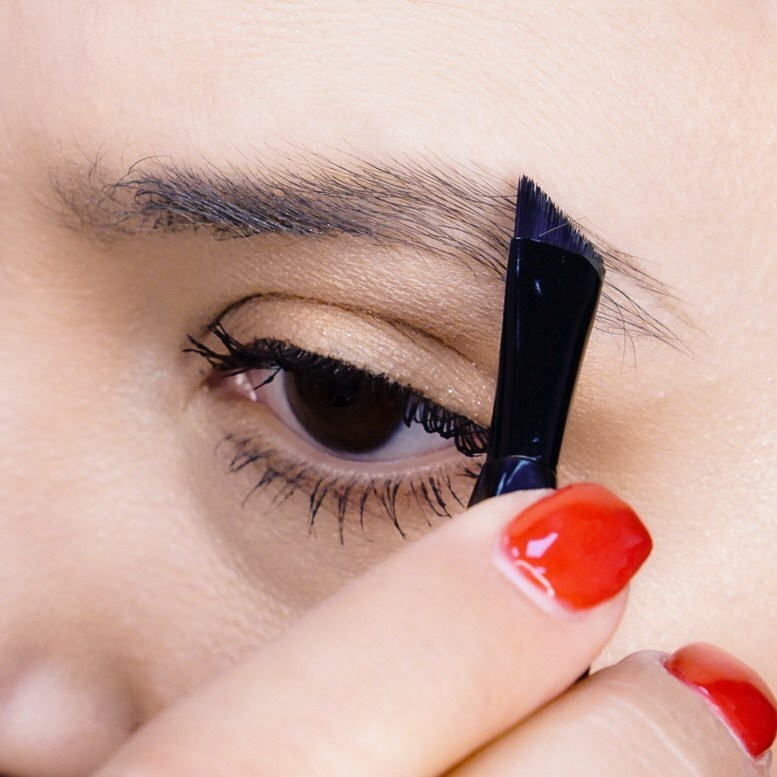
If you are using a brow kit, you will notice that this comes in two shades – one light brown and the other dark brown and sometimes, manufacturers throw in brow pomade if it comes in three receptacles. You would need an angled brow brush to use this product.
Step 1: Comb in the pomade to groom the brow hairs – from the center, up and sideways and on the tips downwards.
Step 2: Cut out excess hair and pluck out strays.
 Step 3. Using the lighter shade, create the shape that you want for your brows beginning with the bottom part going up.
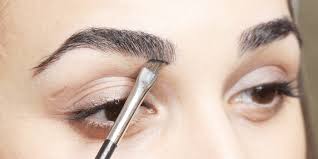 Step 4: Using the darker shade, replicate brow hair by dabbing small brush strokes – thinly from the centre of your face and thicker towards the pointed end.
 Step 5: Use a spooley to comb out excess product for a more natural finish.
And then you’re done! You’re ready to face the world and captivate them with those well-groomed brows!
Try it and send us your brow photos thru our FB page The Australian Filipina and tell us your brow story!
Next on How’s of Brow: The brows for your face shape.