With hopeful hearts we’re all focused on seeing the end of this pandemic while we transform our households to its best state ever! And one of the areas that really need to focus on because we always have the proverbial excuse that “you just have no time” is your pantry. Your spot for goodies, ingredients and other food items has transformed into a stockpile of “organized” chaos. So here’s something that will help you through the first obstacle that we encounter – where do we begin?
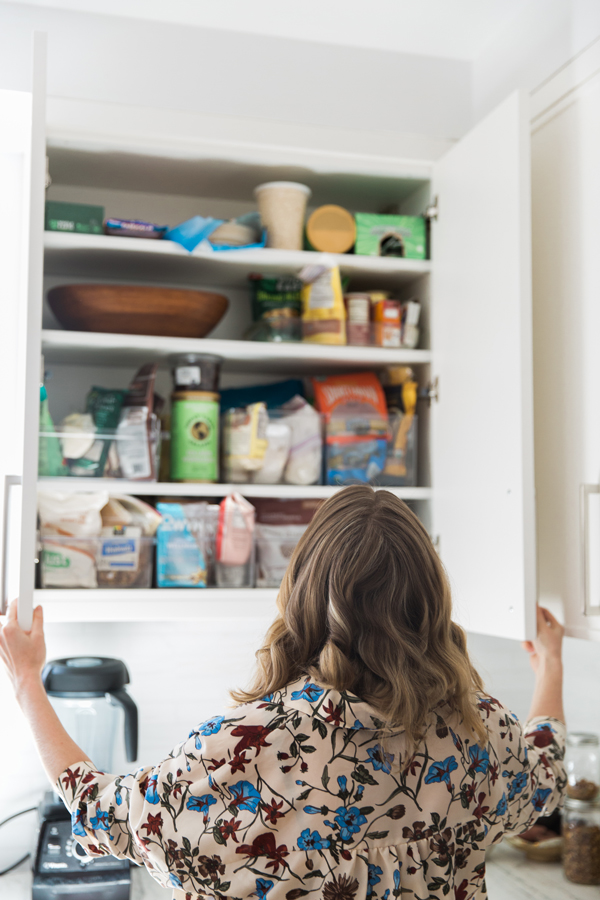
image c/o FeedMePhoebe
And because this is something that’s beyond my arsenal of “how to’s” I’ve sought out the help of an Australian Filipina and a very good friend who’s no stranger to the kitchen and all its intricate segments. She is Christine Caisip – full time professional recipe tester in Sydney and has worked in a variety of professional test kitchens in the last six years. I was amazed at how she arranged the pantry in her new home and I after a short talk, I realized that she is obsessed with small details, organisation and creating beautiful work. Christine loves creating the perfect, harmonious pantry environment!
Below is our fun talk as I rummage through her new pantry.
AF: What would be the first consideration when arranging your pantry?
CC: The first thing I would think about before starting to organise a pantry is understanding what kind of foods you eat regularly and what comes in and out of your pantry from the supermarket on a regular basis. What recipes do you tend to cook the most frequently, pastas, stir fries, tacos? Most home cooks tend to cook from a handful of recipes they're comfortable with with a few tweaks. Write down what you commonly tend to cook week-to-week. This guide will help you discover what kinds of foods you like to eat and what kind of pantry you should build.
Your pantry will be bespoke to you and your household's needs depending on your likes, dislikes and typical supermarket purchases. An easy way to do this is to have a look at what your pantry looks like right now. What ingredients do you have the most of - rice, pasta, flour, tinned goods, open or closed bags of items?
I like to take a pen and pad and then categorise all the items in your pantry to start with, as it's a helpful snapshot of the items you've currently been buying and typically like to cook with. What you will also most likely discover is a range of products that may have been impulse purchases, or items you used a partial quantity of but are unlikely to use again.
While these items are fun to have for creative cooking, I encourage you to be ruthless - when you find an item that falls under this category, if you cannot imagine yourself creating three separate types of dishes with it within the next week or so, either throw it away or donate it. This exercise will also help you to be more mindful of these random purchases that sneak onto your trolley when shopping (especially when hungry!).
AF: Please take us through the “step-by-step” in organizing your pantry.
CC: First, assess your pantry and the items you regularly buy for your pantry.
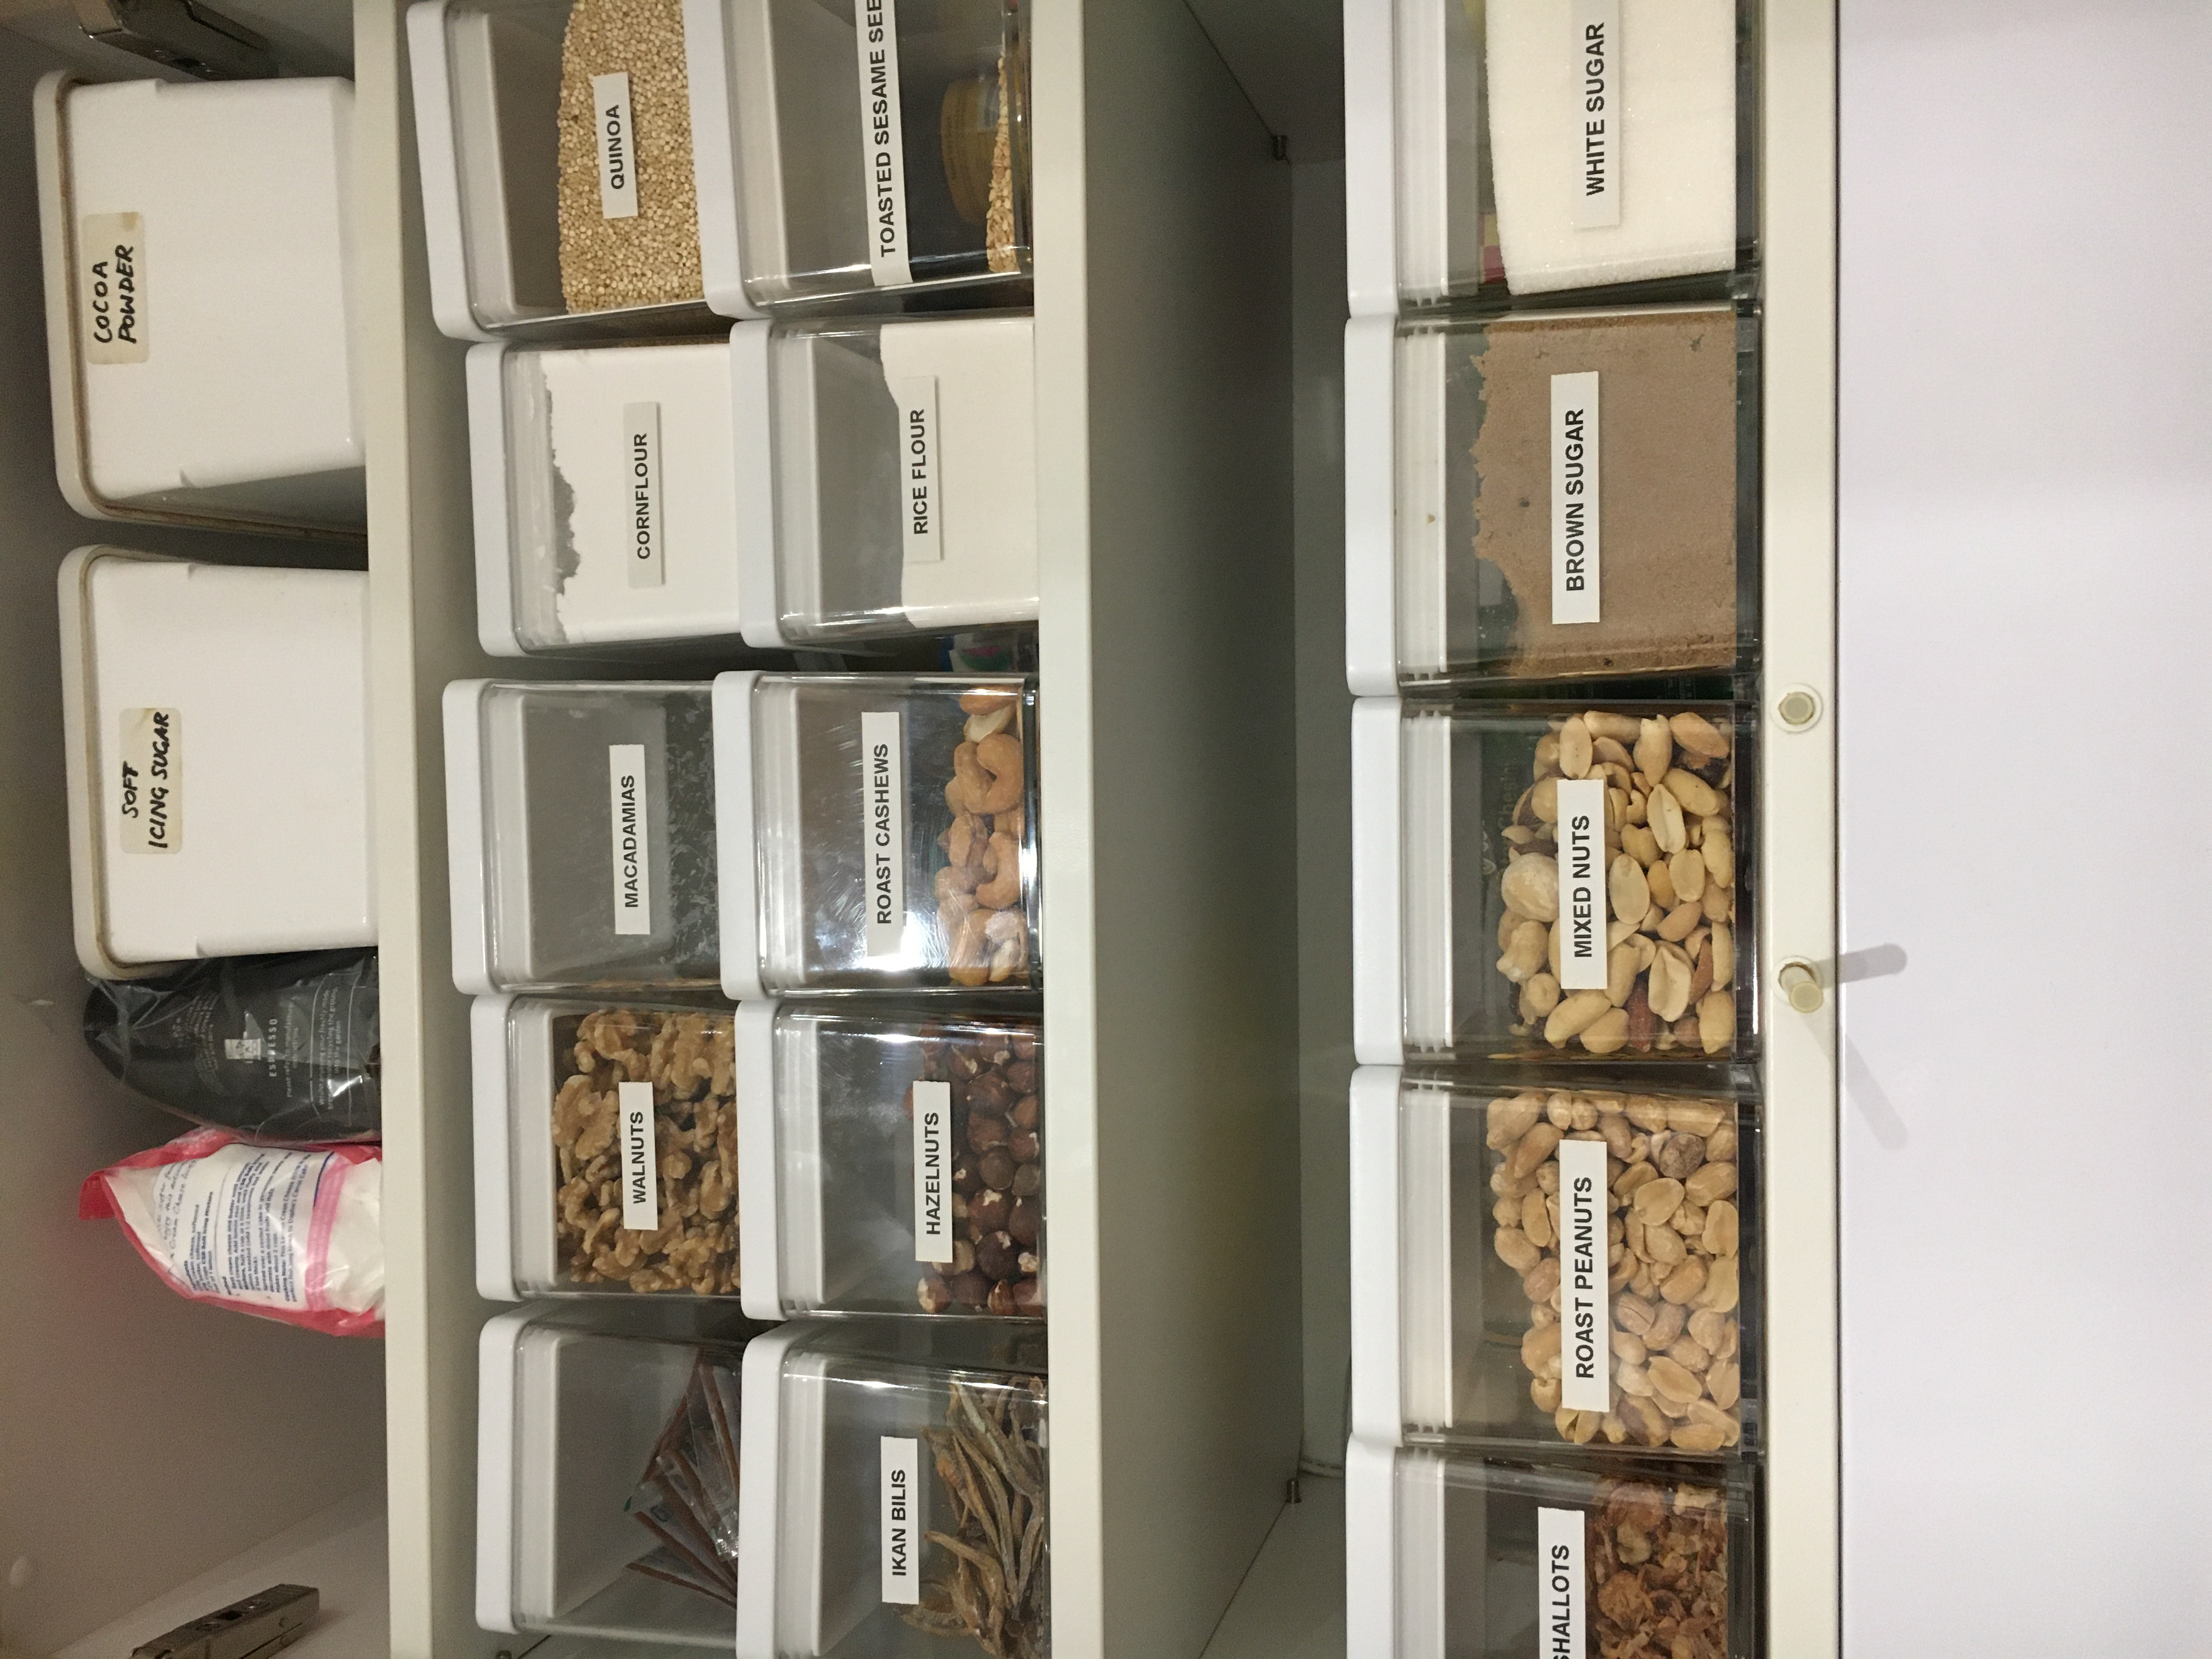
I like to categorise by type of food (e.g. types of rices, flours, sugars, tinned goods, nuts, sauces) but you can categorise according to the largest to smallest amounts that you have (as this can vary too).
e.g.
Rices - Brown, short grain, Japanese, basmati, wild, jasmine, etc.
Sugars - Caster, brown, raw, etc.
Sauces - Soy sauce, fish sauce, sesame oil, etc.
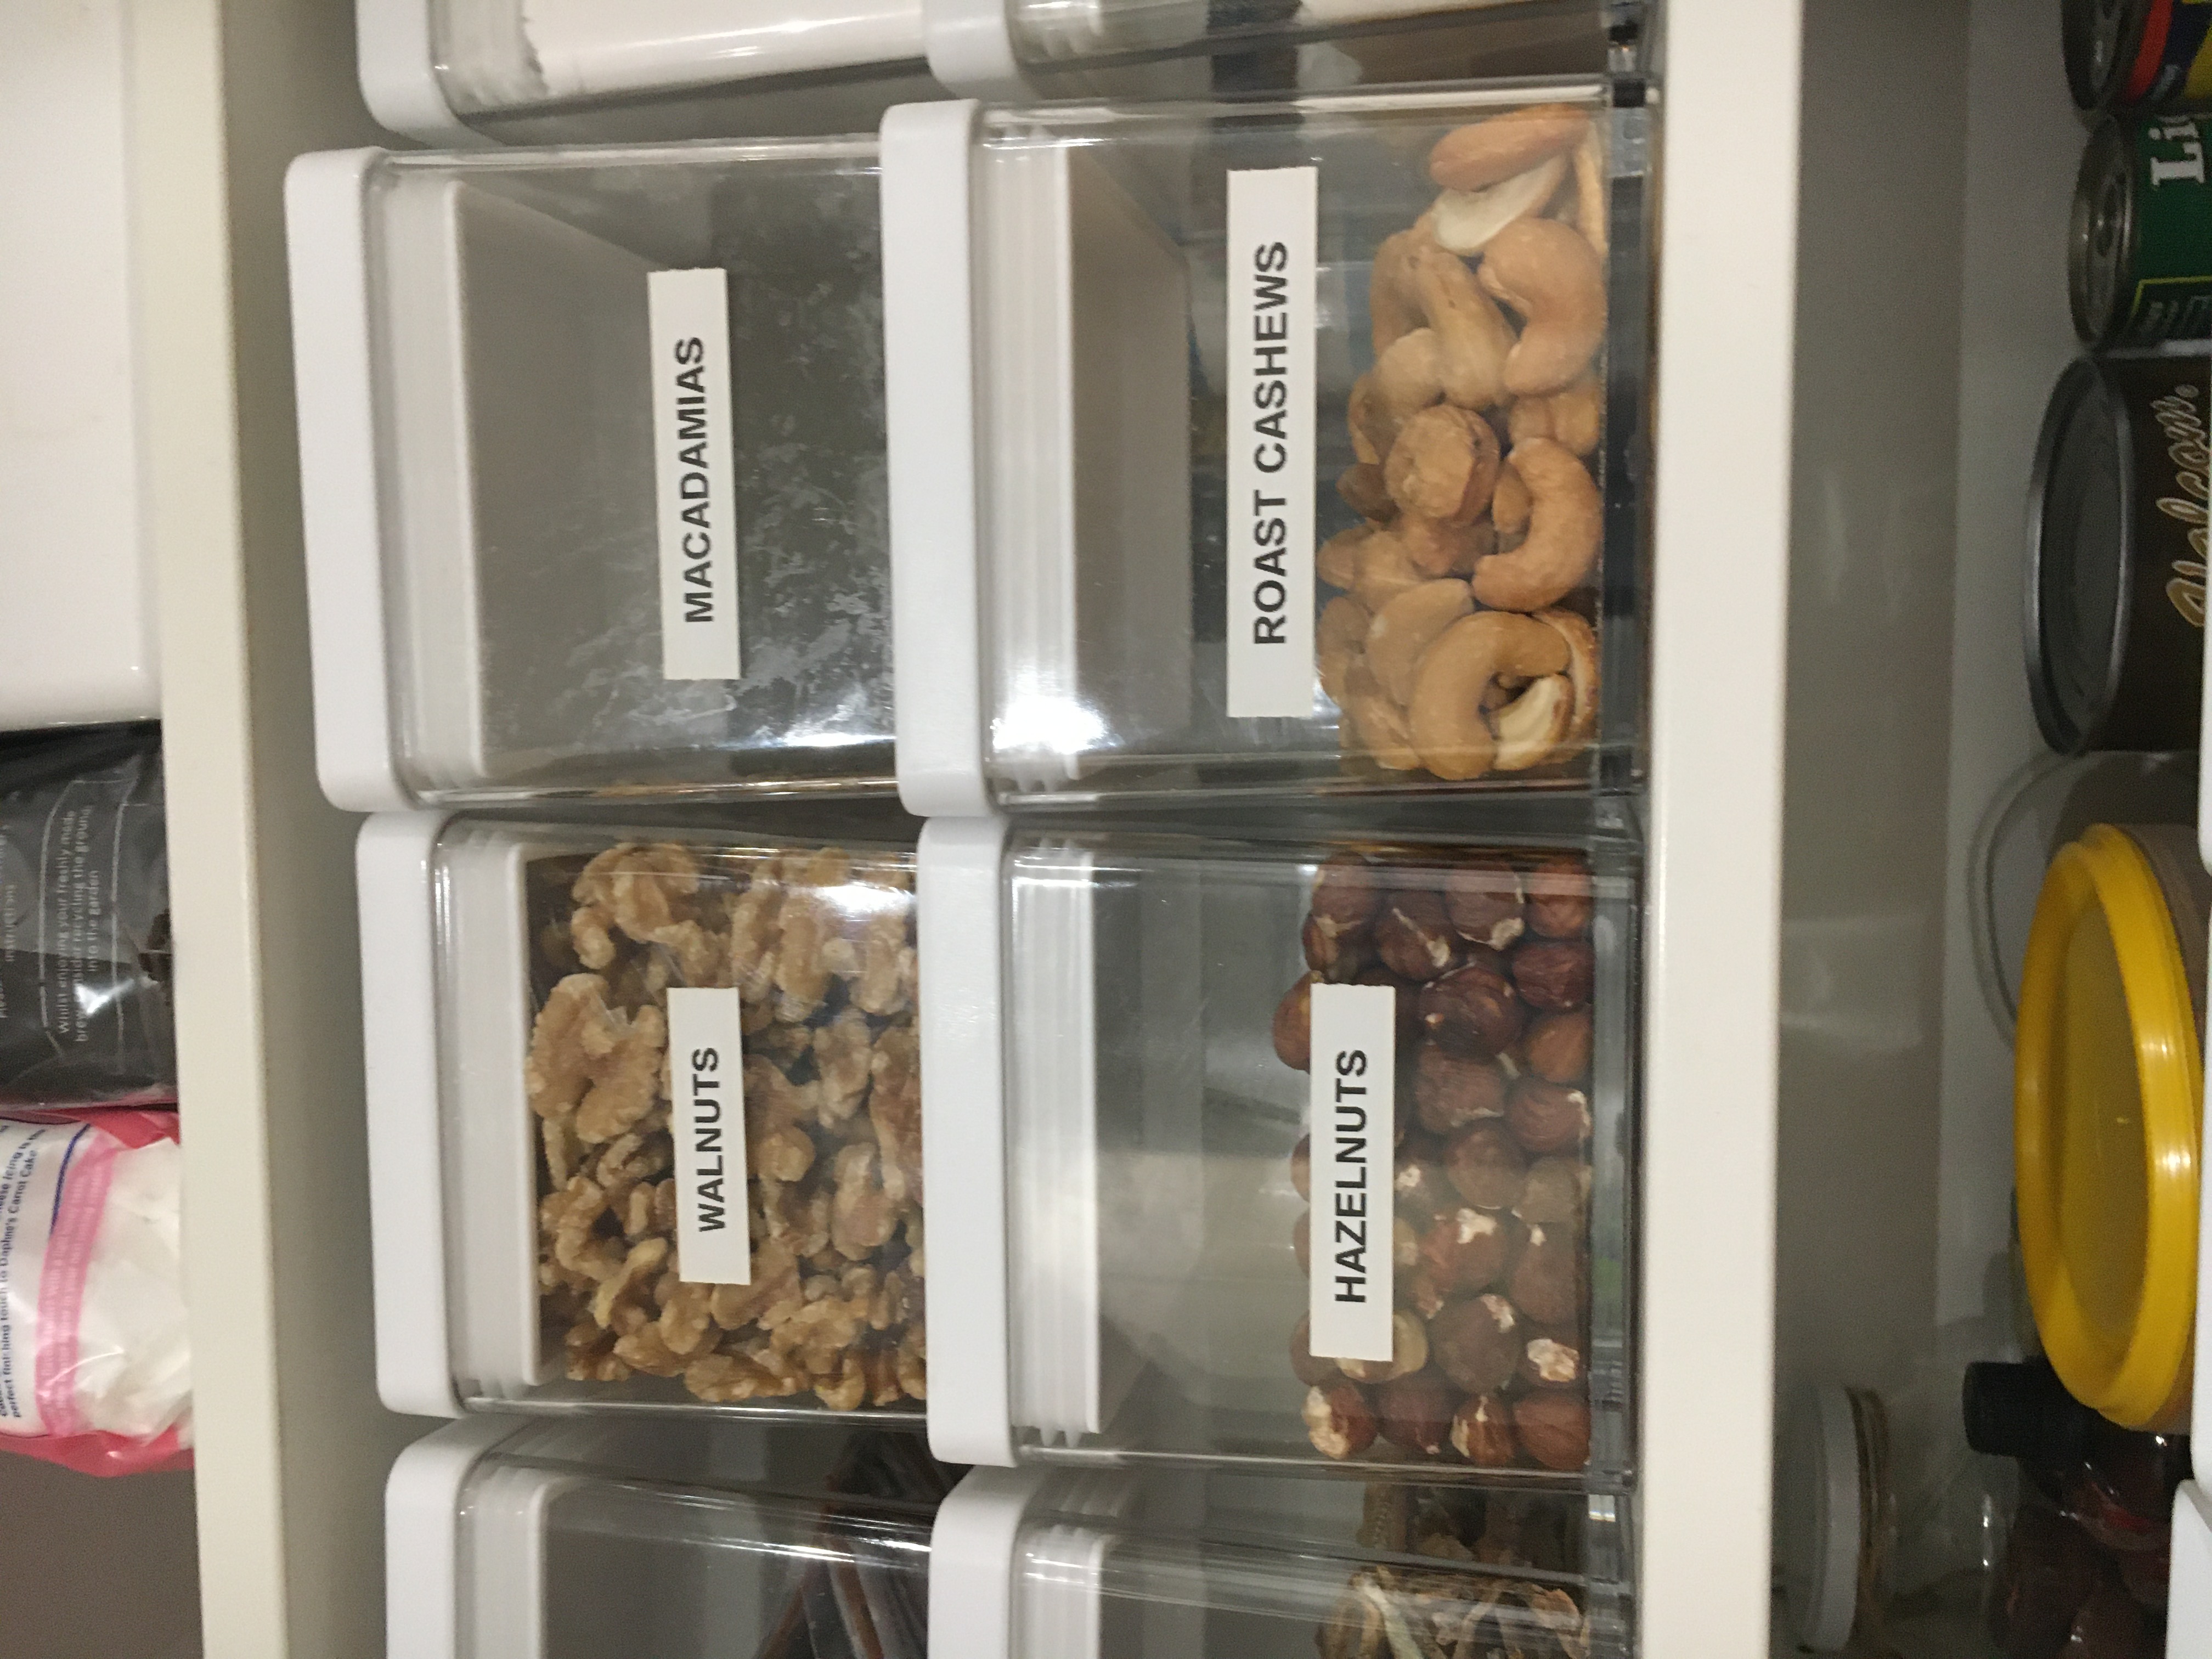
Nuts - Pistachios, macadamias, peanuts, etc.
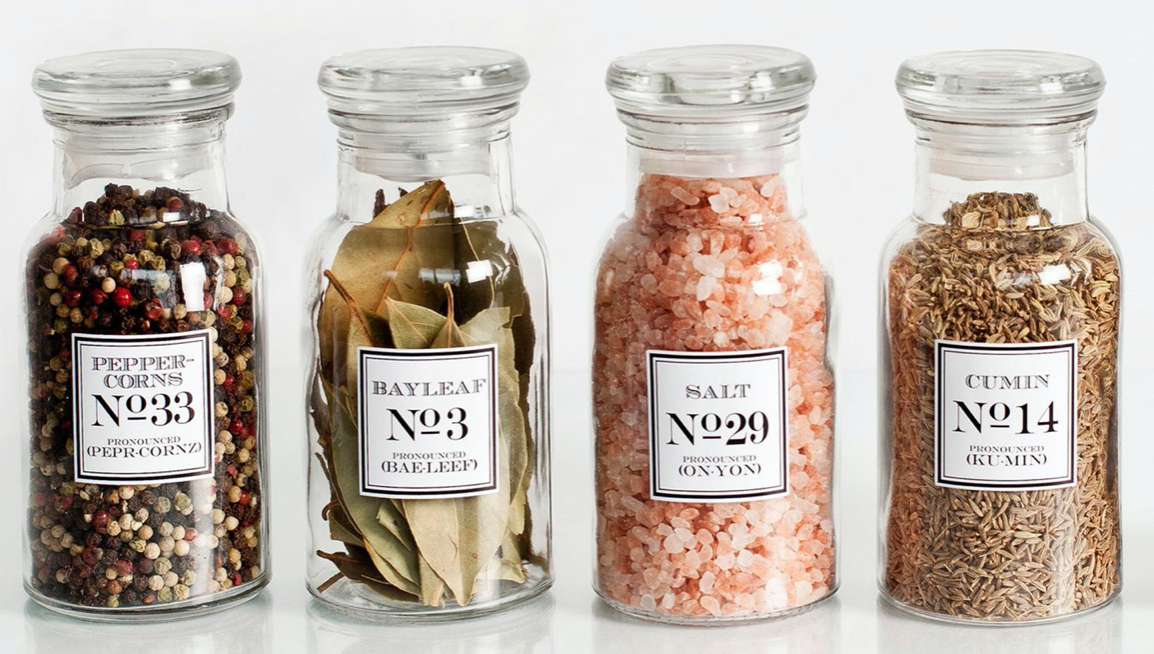
Spices - cumin, coriander, nutmeg, etc.
Then, remove all items that you haven't used in a long time, or have passed their best-before date. Note down all the regularly used items and the typical sizes you tend to have them in.
e.g.
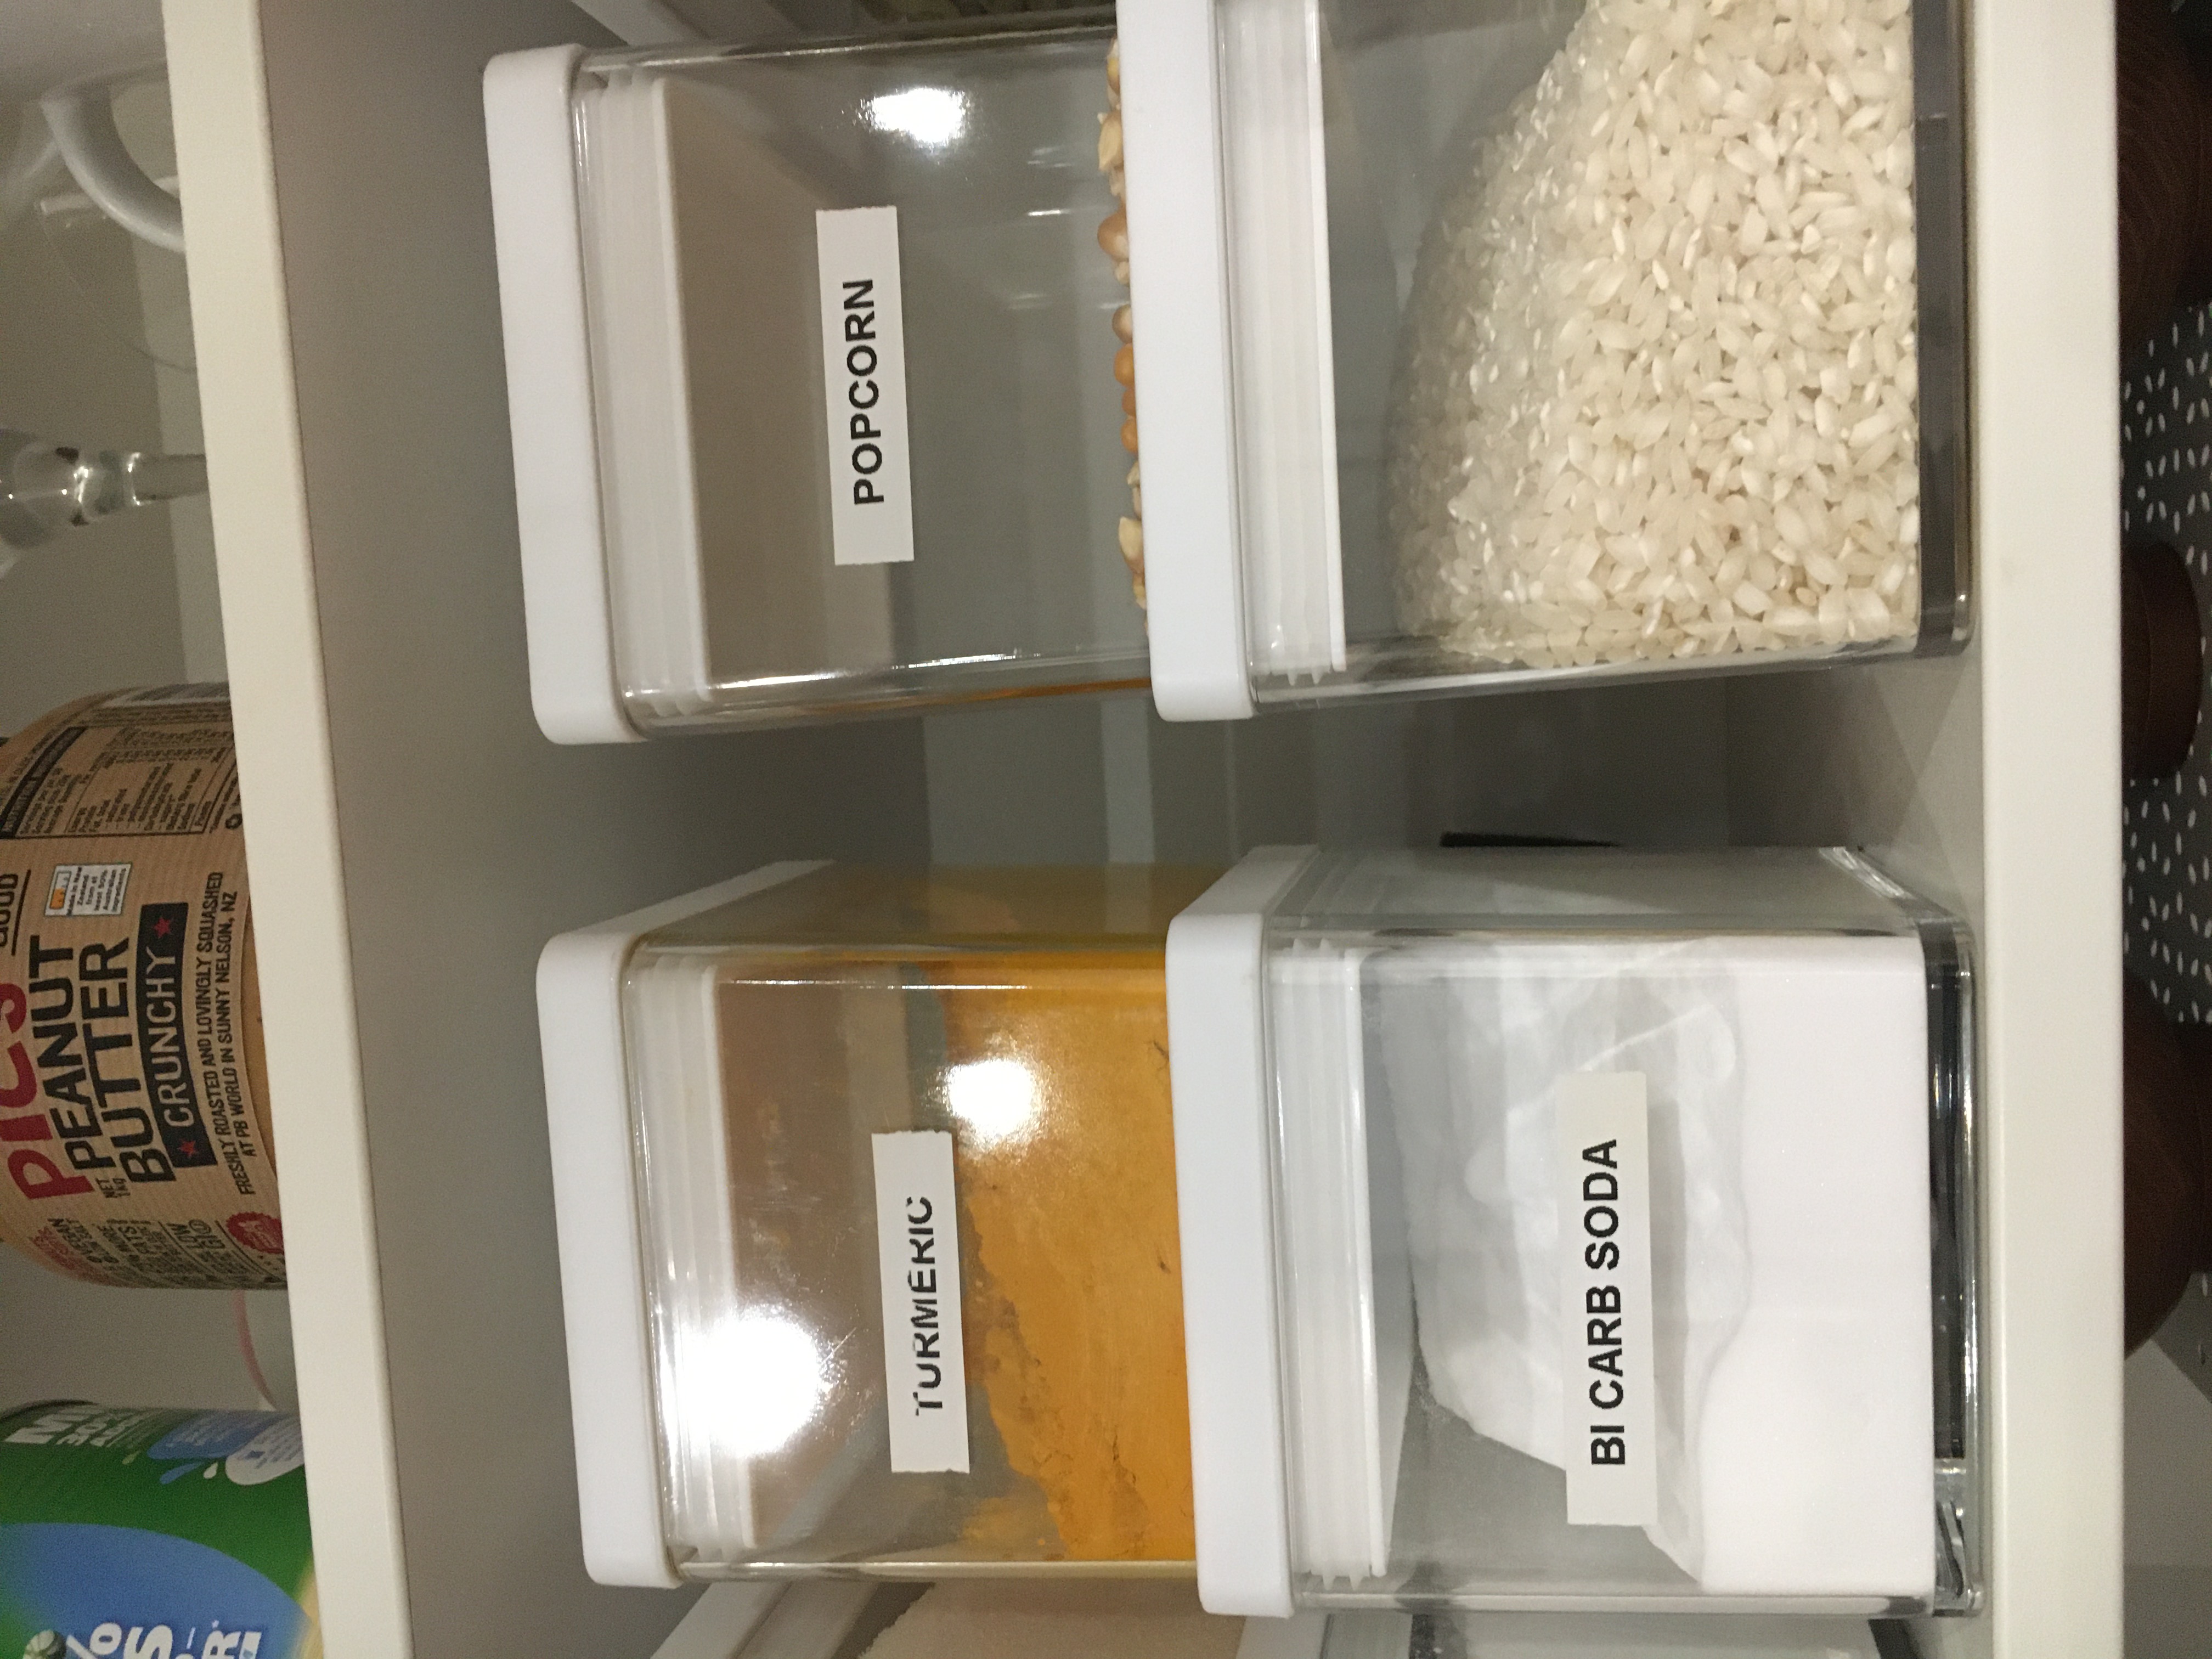
LARGE CONTAINER - White rice, white flour, plain flour. (These containers should be reserved for items that you use frequently on a regular basis).
MEDIUM CONTAINER - Pitted dates, almond meal, caster sugar, lentils,barley, chocolate chips. (These containers are reserved for items that you don't use as regularly but still like to have around in medium quantities for the occasion that you feel like being a little creative).
 SMALL CONTAINER - Nuts (pistachios, macadamias), popcorn, sesameseeds, ikan bilis, miso paste sachets (just some I have in my small section!)
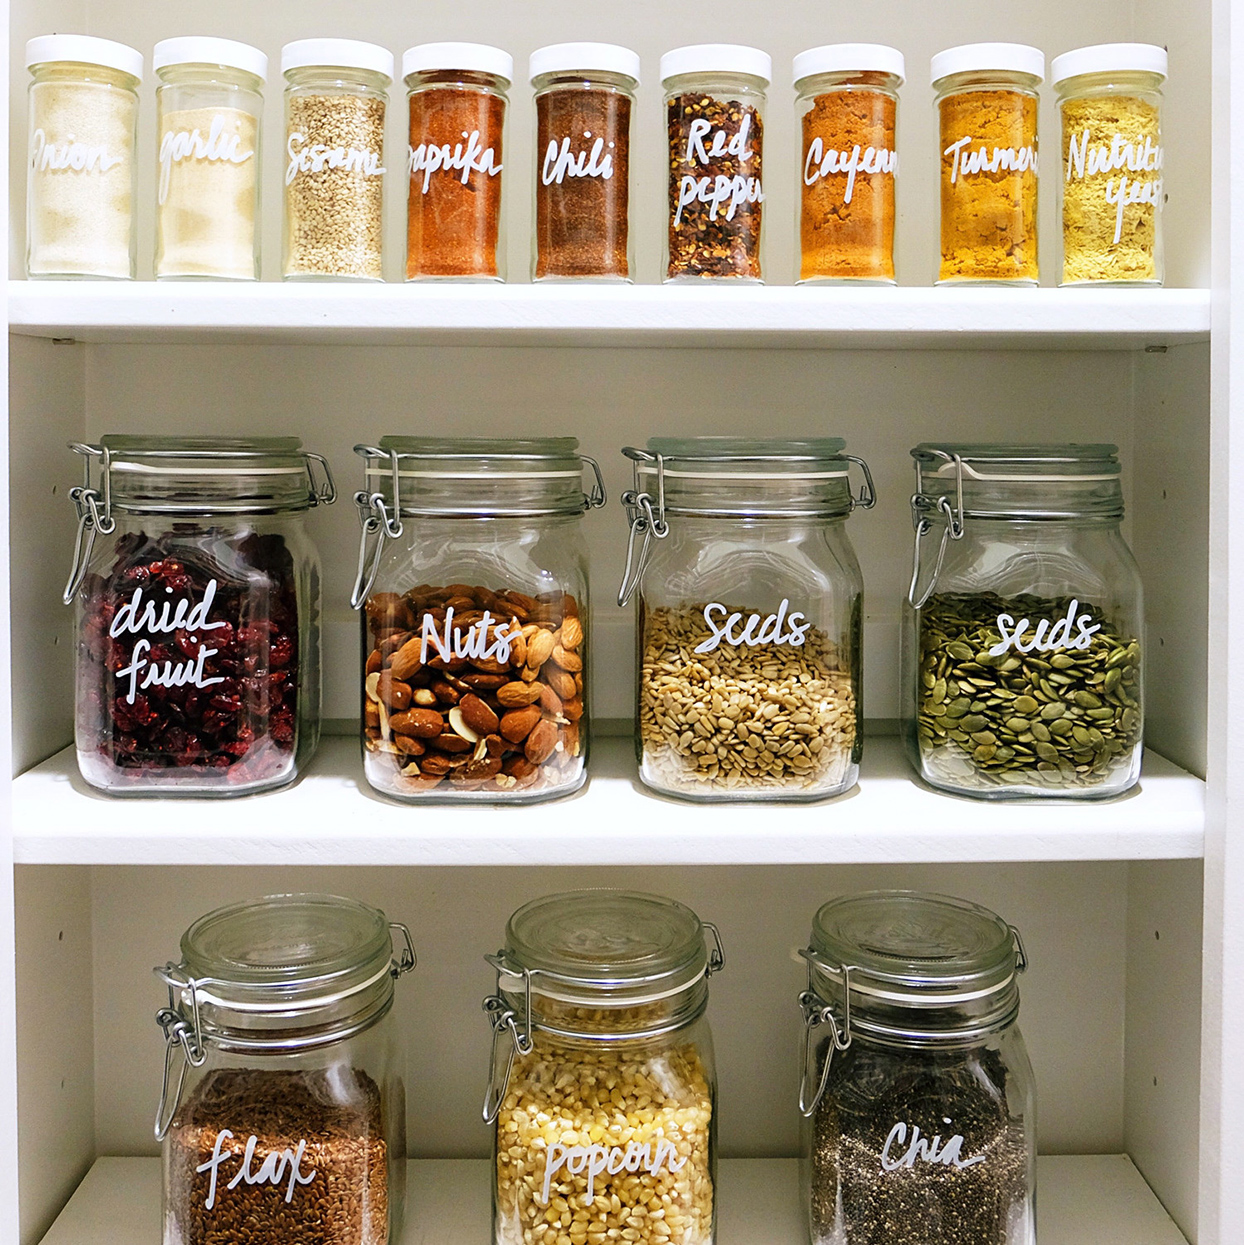 EXTRA SMALL CONTAINER - Spice blends, cumin, coriander, nutmeg, dried rosemary, etc. This category is reserved for the smallest items in your pantry that still benefit from that extra bit of organisation. I like buying spice blends from spice shops or in larger bags rather than the small jars available at supermarkets. It's cheaper and easier to measure for cooking in the small containers.
 At this stage, I also like to check the types of tins I have and categorise them by type (e.g. anchovies, tinned tuna, mixed beans, diced tomatoes, coconut milk, etc). I'll arrange these by type later on, depending on the shelf space I have left after the containers have been sorted. If I have particularly deep shelves, I like to save the tins for the deeper parts of the shelving because of their long shelf life.
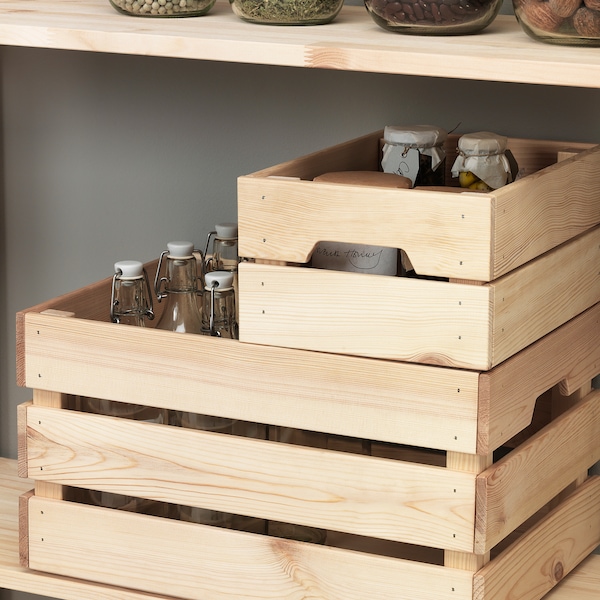
For any other categories that don't fit into these containers (e.g. soy sauce, sesame oil bottles, etc), I like to buy, evenly sized wooden boxes to place these in, so they're easy to grab but can also be categorised neatly with a return space to go to in the pantry.
 The next step is to use a measuring tape to measure out the size of your shelves, length, width, depth. Take the measuring tape and the measurements to the shops with you so that you can ascertain how many of your preferred style of container will fit on your desired shelf at home. I know this is a lot of work, but trust me, it's worth it when you maximise the space you have by actually measuring and the work pays off later!
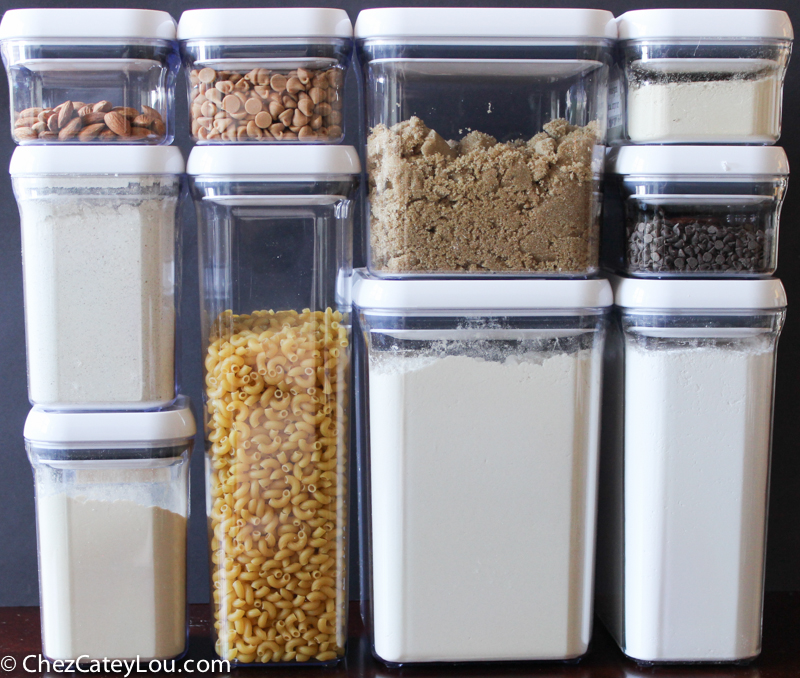
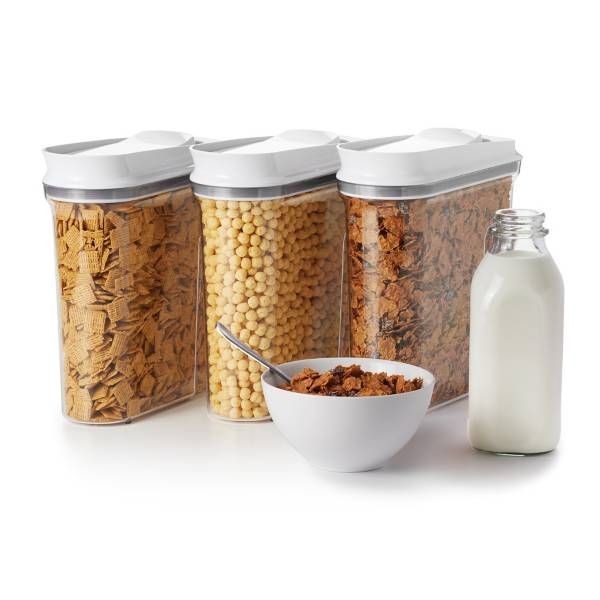
This gets you ready for the next step - Go shopping! I recommend sticking to one brand for consistency. Then you need to keep in mind the three golden rules my dear friend Tammi (and pantry goddess) taught me. Square, clear and stackable containers.
Why? Square - it helps maximise your pantry space availability by allowing your containers to tessellate. Clear - so you can view what's inside and instantly know what's running low. Stackable - so you can fit them into almost any space. Anything else is not acceptable because it's simply impractical for a working pantry. Round jars, overly ornamental containers should be avoided. Strangely, containers with these obvious categories are harder to find than you might think, but I've found some very affordable options available at Kmart and IKEA, even Woolworths and Coles.
You don't need to spend a lot of money to make a successfully organised pantry work. Use your guide from Step 1 to figure out how many categories of container you'll need (large, medium, small or extra-small) and don't forget to factor in the measurements of your pantry during your decision making process. I find it helpful to visualise exactly what I want the pantry to look like, and that helps guide me. Don't forget to keep the receipt, in case there are any containers you don't want to keep!
Up next, clean out all the items from your pantry and replace them with the containers on the shelves to configure how you want them exactly to look. You can really have fun with this part!
You can do whatever you like here - place the most used items in your most commonly viewed eyesight, or if you have other items that you rarely use that you want to be in your mind more often, move those to a more common viewpoint if you want to push yourself to be a bit more creative. Otherwise, you can go OTT and organise by smallest to largest, categories (e.g. spices all in one section, rices all in one section) OR completely alphabetical! Whatever you like.
My favourite part follows next - the labelling. You don't need to get a fancy label maker, some cheap label stickers and a pen will do! I like to go completely over-the-top and label the sides and top of the containers, just so I can see from every angle what the container category is, but there is absolutely no need to go over the top like me.
 Then fill your containers according to the labels. Sometimes, I like to include a cut out piece of the packet of the best-before date of the product in the container to help me keep track, but this is optional! Alternatively, you could use an extra label and write the use-by date on the base of the container, although I tend to avoid this depending on the label brand I'm using - some of them over time become very difficult to peel off!
You’re now ready to replace your containers in your pantry. Admire away!
Finally, last but not least at all - continue to monitor your new pantry to see how it's working for you. You may discover that you may use an ingredient more or less and you can adjust, grow and perfect it over time. Nothing is ever set in stone!
Most importantly, make sure that you keep it clean and organised. It is very easy for a good pantry to become overwhelmed by additional clutter that you don't need. I encourage you to be mindful about your kitchen purchases, what is in your pantry and why? If it doesn't deserve to be taking up valuable pantry real estate, then remove it, make space for a more organised pantry that will serve your needs better.
So, are you ready to give it a go? All you need now is to take the first step!
Enjoy!